Roast chicken... classic comfort food. Now pair it with some low-brow bistro favorites like roast carrots, brussel sprouts and buttermilk mashed potatoes, you have a WINNER WINNER CHICKEN DINNER!

While the rest of the country is eating ham, or lamb on Easter Sunday, we'll take chicken, done this way! First, let's prep all the sides!

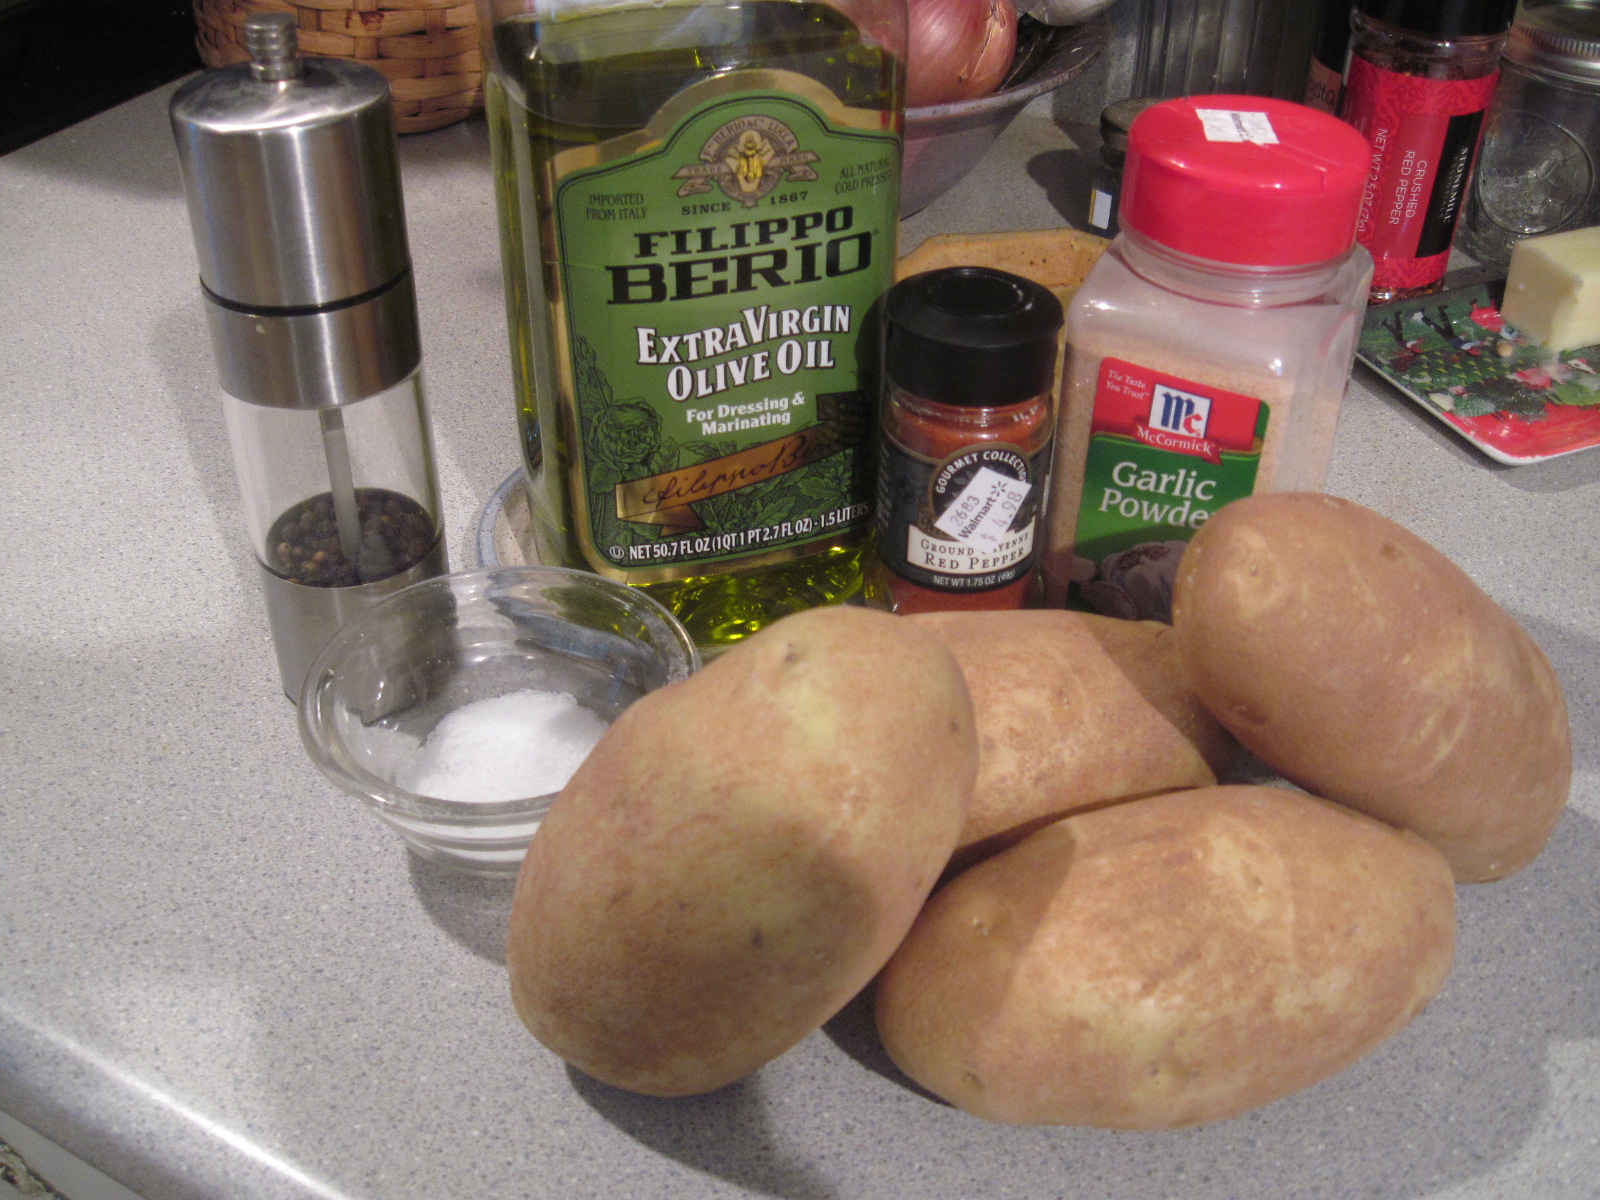
Like I said, today our chicken is with humble potatoes, carrots and brussel sprouts. Peel and wash the carrots, wash the sprouts, and peel and rinse the potatoes. Now, on to the chicken.

One of my favorite pieces of chicken is the breast on the bone! For some reason, it's cheap, and on sale a lot! The bone is what keeps this chicken super moist and imparts tons of flavor. But it's not gonna season itself, so tonight sprinkle on some kosher salt and fresh ground pepper. Add garlic powder and dried thyme and oregano (at least 1-2 teaspoons of each). Aggressive seasoning now means flavorful chicken later! Pop the chicken into a 375 degree oven. It will cook for 40 -45 minutes (these are big breasts... and that's the only time I will EVER say those words).

Now that the chicken is in the oven, quarter the peeled potatoes and add to cold water. Turn stove on high-ish heat to boil those taters. Once the water comes to a boil, season the water and taters with a good handful of salt, at least 1 tablespoon! Cook potatoes until fork tender, about 30-35 minutes.

Potatoes are boiling, so let's season up the carrots and sprouts. You may remember both of these tasty sides from "Side-o-Carrots", and "Chicken For Maria". I've done both sides before, and they're both so simple and good, we have them a lot! Add olive oil, salt, pepper, garlic powder and thyme to the carrots and toss/mix to coat. Add olive oil, salt and pepper garlic powder and the zest of one lemon to the sprouts.

All seasoned up and ready to go! Both will go into a 375 degree oven for 30-35 minutes. I put them in about 20 minutes after the chicken and everything was done at the same time.

So how can we kick this dinner up one more notch? Oh, how about some buttermilk biscuits? OH, HECK YEAH! Tonight I started with 2 cups King Arthur unbleached self-rising flour. You could use regular flour and add salt and baking powder, but, tonight, I did it this way. We'll also need 1/4 cup (1 stick) butter and 2/3 to 3/4 cups buttermilk.

The key to flaky biscuits is cold butter. I slice my cold butter into pieces first, then add to the flour.

Using a pastry cutter, work all that cold butter into the flour. Make sure all the flour gets incorporated with the butter until it looks like this. If you don't have a pastry cutter, you can use 2 knives, or even your food processor. Tonight, I went "old school" with my gadget addiction... thank you pastry cutter!

Next you want to add the buttermilk.

This biscuit recipe called for 2/3 to 3/4 cup buttermilk, and I used all 3/4 of the milk. Make sure to shake your buttermilk before you pour it into the measuring cup. Now switch to a wooden spoon to mix the dough.

After dough is mostly combined, drop it onto a floured surface, and knead a few times. Make sure you don't overwork the dough, but knead it enough to layer all that butter into the dough. Roll dough into a rectangle about 1/2 inch thick.

Not a perfect rectangle, but, it will do. You could use biscuit cutters, but I just chop this dough into 12 "equal-ish" pieces.

And this is what I got. Now, I want these biscuits hot, so I'll wait until the chicken and veggies are done, then I'll jack that oven up to 425 degrees and bake for 12-15 minutes.

For now, I parked these biscuits on the side until later. Let's face it... if we cooked these biscuits and put hot, flaky buttermilk biscuits on the counter to wait for the rest of dinner... they'd disappear! GONE! Biscuit strategy 101, bake biscuits at the last minute while the meat rests! Now, let's check on those potatoes...

When potatoes are fork tender, drain and get ready to mash with this high-tech kitchen gadget... the masher! I add salt and pepper and mash the potatoes before adding the milk and butter. Next, I have a warm 3/4 cup milk (2%) and 3 tablespoons of butter that I zapped in the microwave for one minute. Add to potatoes and combine. When warm milk meets warm potatoes they combine better and make creamy mashed potatoes. Now, add 3/4 cup of the buttermilk into the mashed potatoes and mix until they look like this...

YUM! Taste for seasoning, and add more salt and pepper if you think it needs it. Put a lid on that bowl of tater-love and keep warm on top of the stove.
Hungry yet? Chicken's done! Finally! Cover the chicken with foil and let it rest! Crank your oven up to 425 degrees and pop in those buttermilk biscuits (12-15 minutes). Now, let's dress up those sprouts!

Drop those roasted sprouts in a big mixing bowl and add more lemon zest (half of one lemon, or one small), shaved parmesean cheese, and pistachio nuts. Mix up all those flavors and add salt and pepper if you think it needs it. Oooo, ahhhh! GO TIME!

Drumroll, please... we HAVE BISCUITS!! Dinner time! BOOM!

Now that's what I call a WINNER WINNER CHICKEN DINNER! Simple yummy roast chicken with some humble, colorful, flavorful sides! Simply delicious!

Now, pass the BISCUITS!!! Dinner is ON!!
 While the rest of the country is eating ham, or lamb on Easter Sunday, we'll take chicken, done this way! First, let's prep all the sides!
 Like I said, today our chicken is with humble potatoes, carrots and brussel sprouts. Peel and wash the carrots, wash the sprouts, and peel and rinse the potatoes. Now, on to the chicken.
 One of my favorite pieces of chicken is the breast on the bone! For some reason, it's cheap, and on sale a lot! The bone is what keeps this chicken super moist and imparts tons of flavor. But it's not gonna season itself, so tonight sprinkle on some kosher salt and fresh ground pepper. Add garlic powder and dried thyme and oregano (at least 1-2 teaspoons of each). Aggressive seasoning now means flavorful chicken later! Pop the chicken into a 375 degree oven. It will cook for 40 -45 minutes (these are big breasts... and that's the only time I will EVER say those words).
 Now that the chicken is in the oven, quarter the peeled potatoes and add to cold water. Turn stove on high-ish heat to boil those taters. Once the water comes to a boil, season the water and taters with a good handful of salt, at least 1 tablespoon! Cook potatoes until fork tender, about 30-35 minutes.
 Potatoes are boiling, so let's season up the carrots and sprouts. You may remember both of these tasty sides from "Side-o-Carrots", and "Chicken For Maria". I've done both sides before, and they're both so simple and good, we have them a lot! Add olive oil, salt, pepper, garlic powder and thyme to the carrots and toss/mix to coat. Add olive oil, salt and pepper garlic powder and the zest of one lemon to the sprouts.
 All seasoned up and ready to go! Both will go into a 375 degree oven for 30-35 minutes. I put them in about 20 minutes after the chicken and everything was done at the same time.
 So how can we kick this dinner up one more notch? Oh, how about some buttermilk biscuits? OH, HECK YEAH! Tonight I started with 2 cups King Arthur unbleached self-rising flour. You could use regular flour and add salt and baking powder, but, tonight, I did it this way. We'll also need 1/4 cup (1 stick) butter and 2/3 to 3/4 cups buttermilk.
 The key to flaky biscuits is cold butter. I slice my cold butter into pieces first, then add to the flour.
 Using a pastry cutter, work all that cold butter into the flour. Make sure all the flour gets incorporated with the butter until it looks like this. If you don't have a pastry cutter, you can use 2 knives, or even your food processor. Tonight, I went "old school" with my gadget addiction... thank you pastry cutter!
 Next you want to add the buttermilk.
 This biscuit recipe called for 2/3 to 3/4 cup buttermilk, and I used all 3/4 of the milk. Make sure to shake your buttermilk before you pour it into the measuring cup. Now switch to a wooden spoon to mix the dough.
 After dough is mostly combined, drop it onto a floured surface, and knead a few times. Make sure you don't overwork the dough, but knead it enough to layer all that butter into the dough. Roll dough into a rectangle about 1/2 inch thick.
 Not a perfect rectangle, but, it will do. You could use biscuit cutters, but I just chop this dough into 12 "equal-ish" pieces.
 And this is what I got. Now, I want these biscuits hot, so I'll wait until the chicken and veggies are done, then I'll jack that oven up to 425 degrees and bake for 12-15 minutes.
 For now, I parked these biscuits on the side until later. Let's face it... if we cooked these biscuits and put hot, flaky buttermilk biscuits on the counter to wait for the rest of dinner... they'd disappear! GONE! Biscuit strategy 101, bake biscuits at the last minute while the meat rests! Now, let's check on those potatoes...
 When potatoes are fork tender, drain and get ready to mash with this high-tech kitchen gadget... the masher! I add salt and pepper and mash the potatoes before adding the milk and butter. Next, I have a warm 3/4 cup milk (2%) and 3 tablespoons of butter that I zapped in the microwave for one minute. Add to potatoes and combine. When warm milk meets warm potatoes they combine better and make creamy mashed potatoes. Now, add 3/4 cup of the buttermilk into the mashed potatoes and mix until they look like this...
 YUM! Taste for seasoning, and add more salt and pepper if you think it needs it. Put a lid on that bowl of tater-love and keep warm on top of the stove.
Hungry yet? Chicken's done! Finally! Cover the chicken with foil and let it rest! Crank your oven up to 425 degrees and pop in those buttermilk biscuits (12-15 minutes). Now, let's dress up those sprouts!
YUM! Taste for seasoning, and add more salt and pepper if you think it needs it. Put a lid on that bowl of tater-love and keep warm on top of the stove.
Hungry yet? Chicken's done! Finally! Cover the chicken with foil and let it rest! Crank your oven up to 425 degrees and pop in those buttermilk biscuits (12-15 minutes). Now, let's dress up those sprouts!
 Drop those roasted sprouts in a big mixing bowl and add more lemon zest (half of one lemon, or one small), shaved parmesean cheese, and pistachio nuts. Mix up all those flavors and add salt and pepper if you think it needs it. Oooo, ahhhh! GO TIME!
 Drumroll, please... we HAVE BISCUITS!! Dinner time! BOOM!
 Now that's what I call a WINNER WINNER CHICKEN DINNER! Simple yummy roast chicken with some humble, colorful, flavorful sides! Simply delicious!
 Now, pass the BISCUITS!!! Dinner is ON!!