Pasta with pesto! Yumm! But, tofu??? HECK YEAH!! Delicious roasted veggies and pasta with pesto... and tofu? Hmmmm...

I started with extra firm tofu, because I don't like mushy food, but I love lean protein!! Start by cubing the tofu into chunks and drizzle with olive oil. Sprinkle on some salt, pepper, Italian seasoning, and garlic powder. Roast in a 375 degree oven for at least (get this) about 45 minutes.

Now, tofu tastes like... nothing. Absolutely nothing. That's why it gets a bad rap! But I love it, because it will take on the flavor of whatever you give it, and deliver protein. Just give it some FLAVOR!!

So, as you may have noticed... I'm trying to turn bland, boring tofu into a super tasty, chicken nugget style rock star of flavor. This is how I always do tofu. Treat it like MEAT!

Next, chop some veggies to go with your pasta! Tonight I had red pepper, zucchini, and asparagus! YUM! Drizzle with olive oil, salt, pepper and garlic powder, and roast for 10 minutes in a 375 degree oven.

Meanwhile, cook your favorite pasta according to the directions (al dente). Top with home made, or prepared pesto!

Now, if you know me, and my addiction to garlic, YOU KNOW I added some garlic to that pan with some olive oil before tossing everything together. Extra garlic... GUILTY!

After adding your pesto to your pasta, throw in handfuls of spinach and toss. It will disappear quickly!

Then, add your roasted veggies and toss everything together in the pot with the pasta. You may have noticed how lazy I am, and how everything is in that same pasta pot. Guilty!

The big finish! Get ready to top your pasta with some fresh Parmesan cheese and some toasted pine nuts! And, don't forget the protein packed tofu nuggets of flavor! Tonight, tofu meets pesto pasta! Scared of tofu? Leave it out... this pasta is super easy, quick and delicious, with or without tofu!!!

Pesto pasta with tofu and roasted veggies.... YES, PLEASE!!
 Never thought of myself as much of a dessert girl, until I tried this crisp!
 Completely inspired by one of my idols... Ina! She takes quality ingredients, locally grown, and puts FLAVORS together like a maestro conducts a symphony! I rarely buy cookbooks anymore.. but I do buy hers! So... here's what I did. I started with Ina's crisp, and then I cut a lot of sugar out and made it my own (while it was delicious, it didn't need it). Two components, fruit part, and crisp part... cue friut!
 It's strawberry and rhubarb season, so buy about 4-5 stalks of fresh rhubarb and at least 4 cups of strawberries. Wash fruit and get ready to prepare the filling!
 Cut your rhubarb into 1 inch chunks. 4 cups. Add to mixing bowl.
 Hull (cut green caps off) and cut strawberries in half. 4 cups. Add to bowl with rhubarb.
 Here's where I made this recipe my own. I added the zest of one orange, and half cup of sugar.
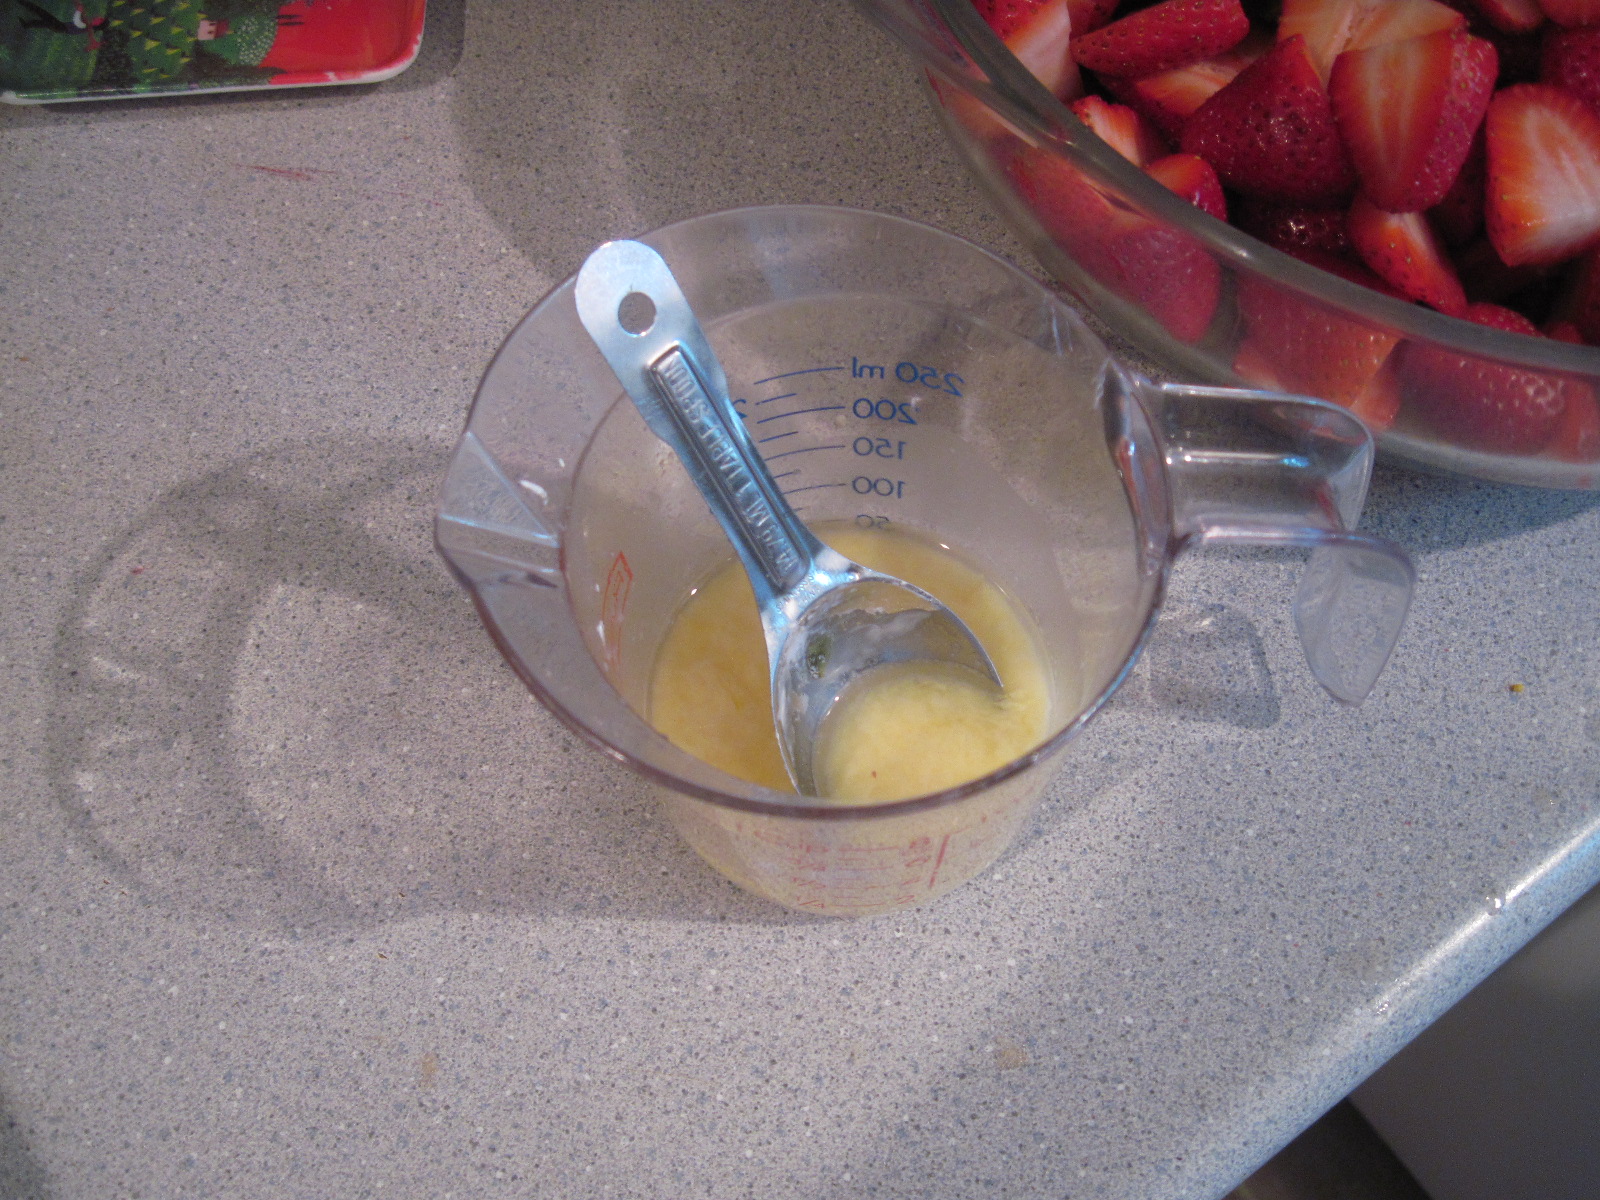 After zesting that orange, juice it and mix it with 1 tablespoon of cornstarch (to thicken the juice). Add the mixture to the filling and toss.
 Spray baking dish with oil and add the strawberry and rhubarb mixture. Now, get ready for the crispy topping!
 I fitted my processor with the bread blade (white one) and added half cup of sugar, half cup of brown sugar, 1/2 teaspoon salt, 1 cup of oats (quick), 1 cup of flour, and 1 and 1/2 sticks of unsalted butter (12 tablespoons). Pulse the crispy topping with the butter for a minute or two until combined. Sprinkle (with your fingers) over the top of the fruit! Are you getting excited? You should be!!! Pop into a 350 degree oven for an hour... yes, 1 hour. If you don't have any vanilla ice cream in da' house, now's the time to GO GET IT!!
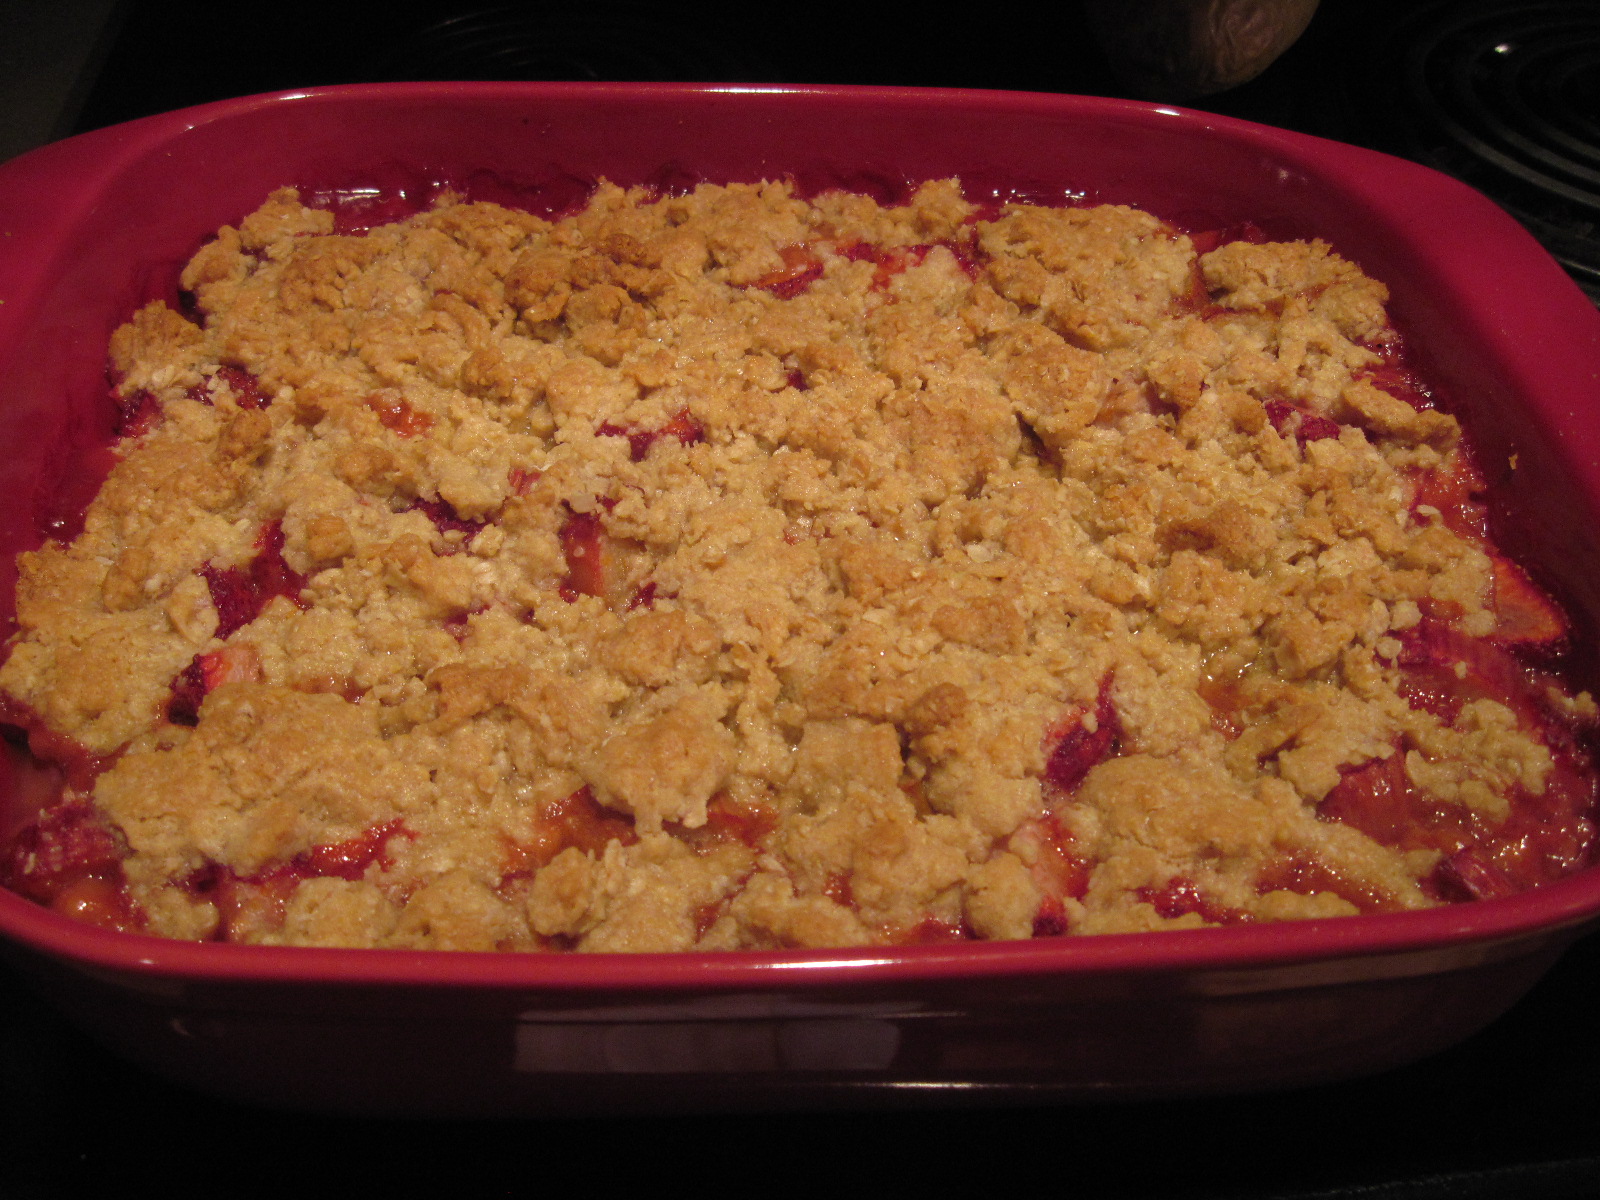
 After 1 hour... this is what you have! Intoxicating strawberry rhubarb crisp! OMG! Once you make this, you will make it again, and again!
 Top with your favorite vanilla ice cream and sink into strawberry heaven! Mind blowing flavor! Can you handle this strawberry rhubarb crisp? Try it and find out!