I don't know if I'm Italian... but I'm inviting all the Italian food loving Italian "posers" to try this chicken cacciatore! One incredible way to enjoy your love for chicken, red sauce, and pasta... OH, and let's throw in a little home made bread too! Super easy focaccia, no joke... way too easy to be this delish! Let's start with the bread... focaccia!

Into 1 cup of warm water, add 2 teaspoons of active, dry yeast and a pinch of sugar. This will activate the yeast, and get it ready to muscle it's way into making our focaccia bread rise and taste super tender!

While the warm water and sugar "wakes up" our yeast, we will add 3 cups of all purpose flour, 2 teaspoons of kosher salt, and 5 teaspoons of Italian seasoning to the food processor fit with a "dough" blade". It's the dull, plastic short blade that came with the processor. If you have a bread machine, you could get it started in there... alas... Gremlin-Mom has no bread machine... just one hard workin', spiffy processor (and I can live with that)!! Pulse the dry ingredients a few times to combine!

Add 3 tablespoons of olive oil to yeast and water and then add to the dry ingredients. Turn on the processor and add the wet ingredients through the tube as the processor runs. Let the processor run for at least a couple more minutes (kneading the dough).

Dump the dough (remove the blade) onto a floured surface and knead a minute or two.

After kneading the dough plop it into a greased bowl to rest for an hour and a half.

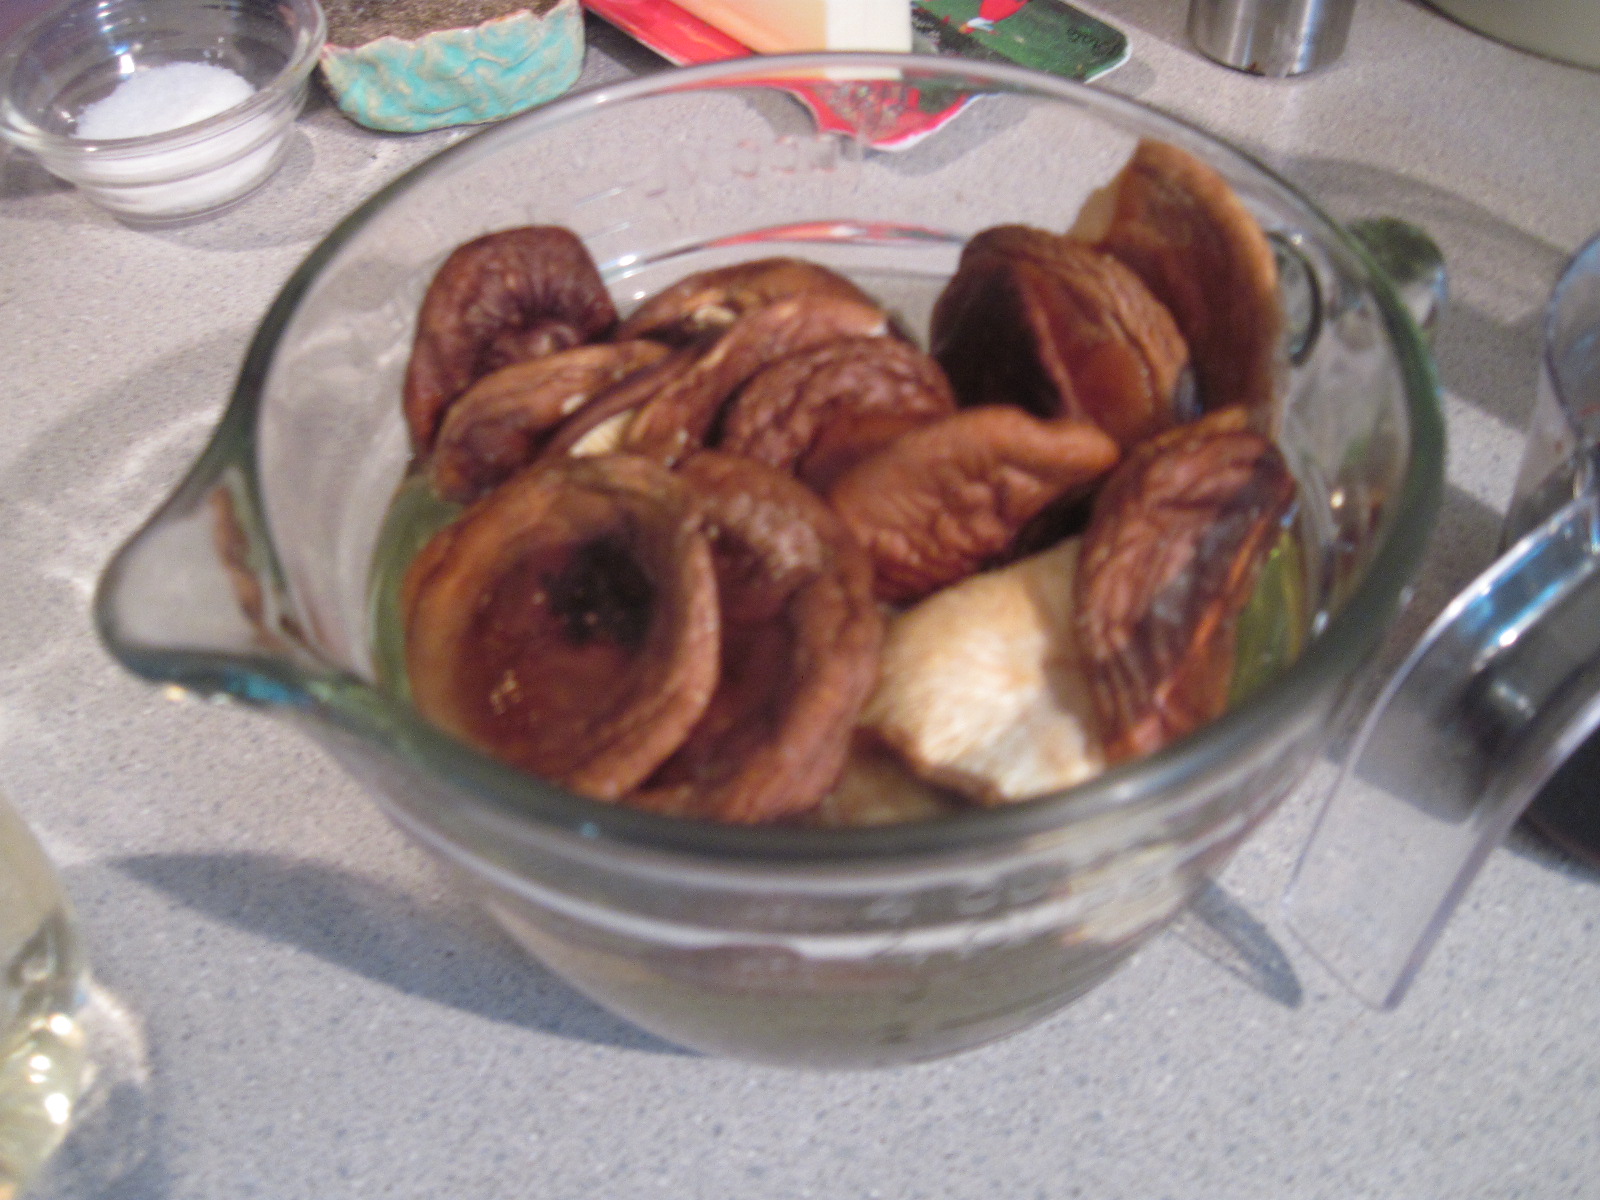
Cover with plastic wrap and when it's done rising it should look like this...

Dough... risen!! Let's take a moment to appreciate the miracle of yeast, flour, and warm water... AMEN! Now time to cook our focaccia!

Drop that dough on to a greased (olive oil) sheet pan and spread with your hands into a flat, spread out quarter inch layer of dough. Use olive oil to keep your hands from sticking while you spread the dough and let it rise for another 30 minutes.

After the second rising... drizzle a little olive oil on the top, sprinkle with Italian seasoning, kosher salt, and dimple the surface by gently poking your fingers into the dough. Bake the focaccia in a 450 oven for 15 minutes!

Focaccia DONE! Now... onto chicken cacciatore! First we make sauce and then we add chicken! I made it my way, with lean chicken tenders, and boneless thighs. First, the sauce!

Sauce... GO TIME... for the chicken cacciatore start with 2 onions, sliced, 6 cloves garlic, chopped, one red and one yellow pepper diced, 2 (28 ounce) cans of chopped tomatoes, 2 cups of dry white wine, 1 pound cremini mushrooms sliced, 4 small bay leaves, and a bundle of fresh thyme!

It's good to get every ingredient ready before starting. With all the "prep" work done, you can pay attention to your cooking (and not your chopping)! Here we go!

Sweat the onions over low heat for 8-10 minutes. Add the peppers for another 2-3 minutes. Add the mushrooms and garlic and cook another 2-3 minutes. Sauce time! Add 2 cups white wine and reduce by half... this took my pot about 15 minutes at least. Add tomatoes, bay leaves, thyme and simmer for about 20 minutes! While the sauce builds it's incredible flavor....

Get the chicken ready! I added 1 cup of flour to a baggy with salt, pepper, garlic powder and italian seasoning. Then, I seasoned the chicken ( thighs and tenders) with salt and pepper. Then I popped them into that baggie with seasoned flour and got ready to sear them in some olive oil (1-2 tablespoons) before adding them to the red sauce!

With all that seared chicken in the sauce, let it simmer for another 15-20 minutes, at least, and cook your favorite pasta to go with the sauce!

Top your pasta with that incredible chicken cacciatore and some fresh grated cheese! Add some fresh bake focaccia and you have a newer, leaner (old school) Italian favorite! Definitely a new Gremlin-Boys favorite! Chicken cacciatore with fresh baked facaccia!
 I don't know if I'm Italian... but I'm inviting all the Italian food loving Italian "posers" to try this chicken cacciatore! One incredible way to enjoy your love for chicken, red sauce, and pasta... OH, and let's throw in a little home made bread too! Super easy focaccia, no joke... way too easy to be this delish! Let's start with the bread... focaccia!
 Into 1 cup of warm water, add 2 teaspoons of active, dry yeast and a pinch of sugar. This will activate the yeast, and get it ready to muscle it's way into making our focaccia bread rise and taste super tender!
 While the warm water and sugar "wakes up" our yeast, we will add 3 cups of all purpose flour, 2 teaspoons of kosher salt, and 5 teaspoons of Italian seasoning to the food processor fit with a "dough" blade". It's the dull, plastic short blade that came with the processor. If you have a bread machine, you could get it started in there... alas... Gremlin-Mom has no bread machine... just one hard workin', spiffy processor (and I can live with that)!! Pulse the dry ingredients a few times to combine!
 Add 3 tablespoons of olive oil to yeast and water and then add to the dry ingredients. Turn on the processor and add the wet ingredients through the tube as the processor runs. Let the processor run for at least a couple more minutes (kneading the dough).
 Dump the dough (remove the blade) onto a floured surface and knead a minute or two.
 After kneading the dough plop it into a greased bowl to rest for an hour and a half.
 Cover with plastic wrap and when it's done rising it should look like this...
 Dough... risen!! Let's take a moment to appreciate the miracle of yeast, flour, and warm water... AMEN! Now time to cook our focaccia!
 Drop that dough on to a greased (olive oil) sheet pan and spread with your hands into a flat, spread out quarter inch layer of dough. Use olive oil to keep your hands from sticking while you spread the dough and let it rise for another 30 minutes.
 After the second rising... drizzle a little olive oil on the top, sprinkle with Italian seasoning, kosher salt, and dimple the surface by gently poking your fingers into the dough. Bake the focaccia in a 450 oven for 15 minutes!
 Focaccia DONE! Now... onto chicken cacciatore! First we make sauce and then we add chicken! I made it my way, with lean chicken tenders, and boneless thighs. First, the sauce!
 Sauce... GO TIME... for the chicken cacciatore start with 2 onions, sliced, 6 cloves garlic, chopped, one red and one yellow pepper diced, 2 (28 ounce) cans of chopped tomatoes, 2 cups of dry white wine, 1 pound cremini mushrooms sliced, 4 small bay leaves, and a bundle of fresh thyme!
 It's good to get every ingredient ready before starting. With all the "prep" work done, you can pay attention to your cooking (and not your chopping)! Here we go!
 Sweat the onions over low heat for 8-10 minutes. Add the peppers for another 2-3 minutes. Add the mushrooms and garlic and cook another 2-3 minutes. Sauce time! Add 2 cups white wine and reduce by half... this took my pot about 15 minutes at least. Add tomatoes, bay leaves, thyme and simmer for about 20 minutes! While the sauce builds it's incredible flavor....
 Get the chicken ready! I added 1 cup of flour to a baggy with salt, pepper, garlic powder and italian seasoning. Then, I seasoned the chicken ( thighs and tenders) with salt and pepper. Then I popped them into that baggie with seasoned flour and got ready to sear them in some olive oil (1-2 tablespoons) before adding them to the red sauce!
  With all that seared chicken in the sauce, let it simmer for another 15-20 minutes, at least, and cook your favorite pasta to go with the sauce!
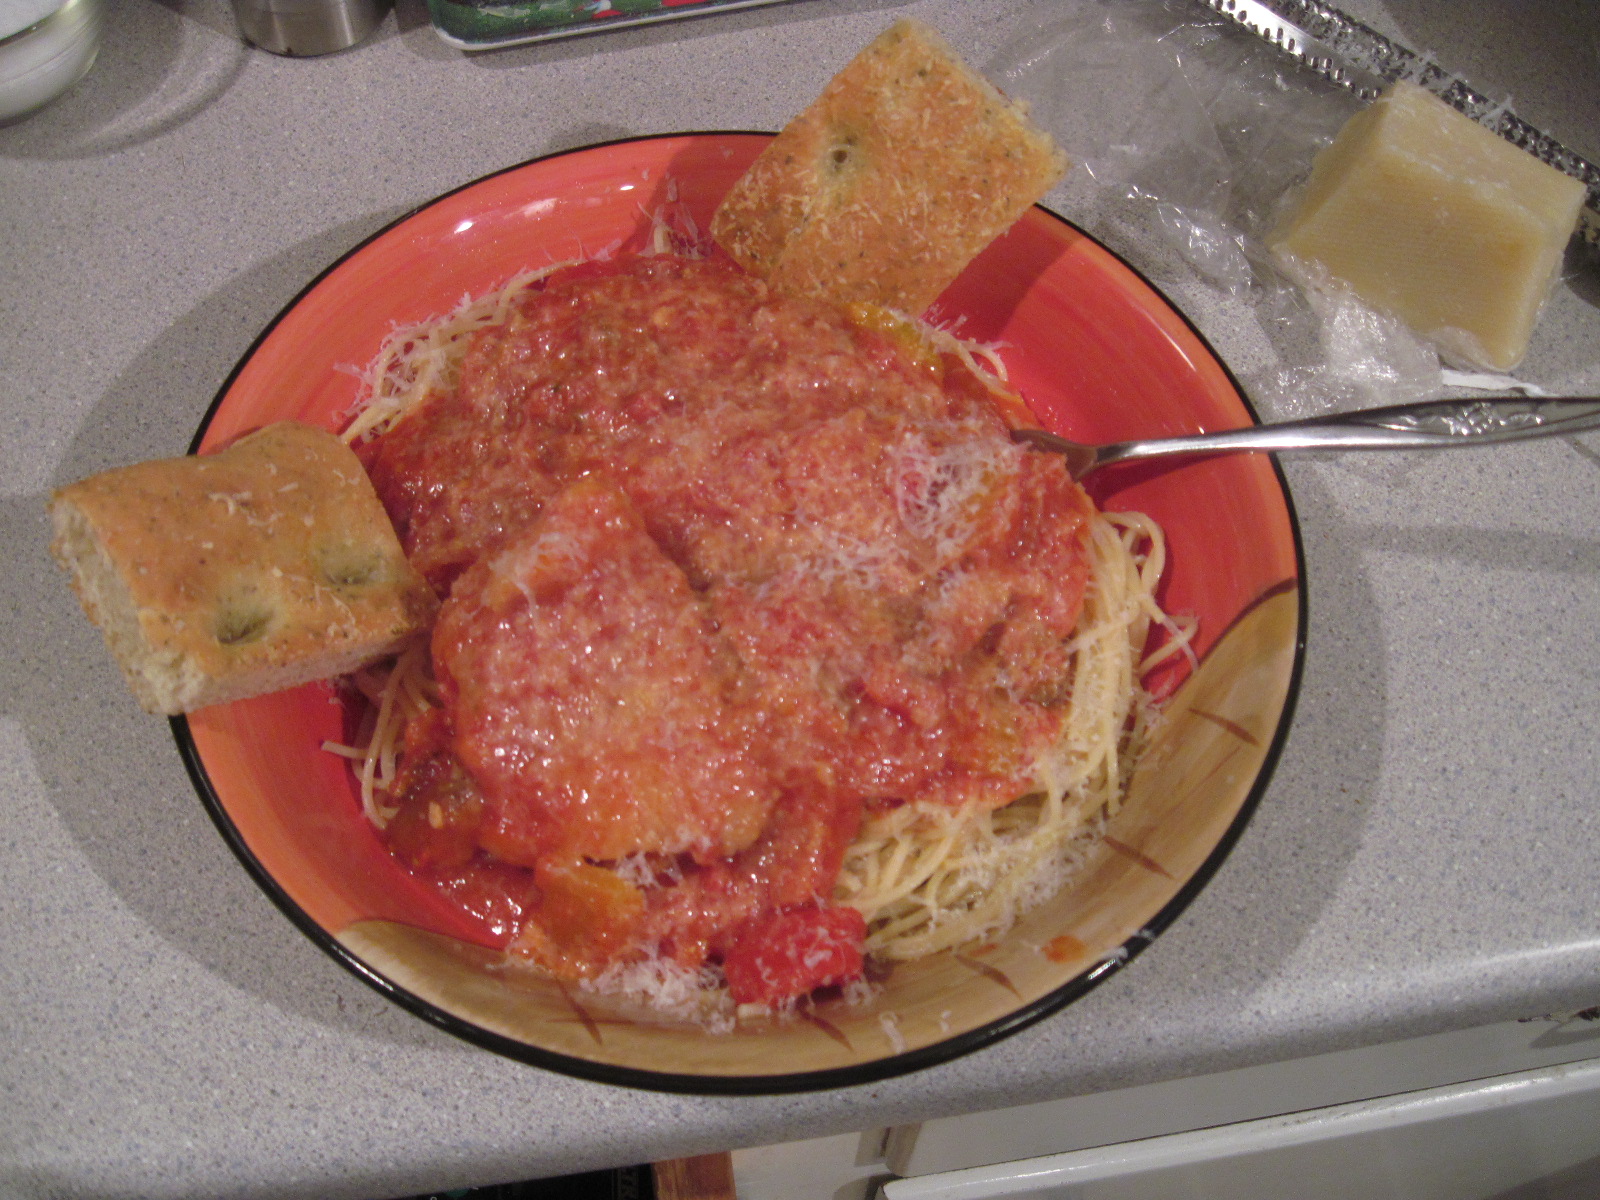 Top your pasta with that incredible chicken cacciatore and some fresh grated cheese! Add some fresh bake focaccia and you have a newer, leaner (old school) Italian favorite! Definitely a new Gremlin-Boys favorite! Chicken cacciatore with fresh baked facaccia!