Summer's here! And so is summer BBQ season... so tonight, it's kabobs... Joe's request! So, before our Marine leaves... officially... I will make anything and everything wants, and tonight, it's kabobs!

I started with chicken tenders and steak tips, two super meaty, super tender, delicious proteins for our delicious kabobs! First, I marinated the meat for about an hour or two, in some hefty plastic zip loc bags. I cut my strip steak into 3 inch (or less) pieces, and left the chicken tenders whole.

To each bag, I added some fresh ground black pepper, about half a teaspoon of kosher salt, and about 3-4 tablespoons of olive oil, and 2 tablespoons of chopped fresh garlic. To the steak, I added some of my favorite spice rub, Montreal Steak Rub... and to the chicken, I added about a teaspoon of Italian seasoning.

Then, I just let that meat sit in the bags and marinate for a couple of hours in the fridge. You can do this in the morning, and pull it out later in the day when your ready to assemble your kabobs!

You can use any veggies you want to thread onto your kabobs, but tonight, I used big chunks of red onion, red pepper, zucchini, and yellow summer squash. Just cut all the veggies into big chunks, nothing fancy.

To give the veggies some flavor, I tossed them all together with a drizzle of olive oil, salt, pepper, and a little garlic powder! Now, ready to assemble!! I used these metal skewers that I have, but you can buy little wooden skewers anywhere. Just remember to soak the wooden skewers in water for at least 30 minutes, so they don't literally burst into flames on the grill.

When I thread the meat and veggies onto skewers I made sure to give each item some room.

I thread the skewer through the meat a couple of times so it could spread out and cook evenly, then I just sprinkled veggies onto each one randomly!

Turn your grill on medium high heat to get it good and hot. When I was ready to throw those kabobs on, I quickly turned the flame off to spray with cooking spray (Pam, or whatever), then I turned the grill right back onto medium high heat.

Next, I spread the kabobs evenly over the grill and cooked for about 5 minutes on the first side and 3-4 more minutes on the other side (with the grill top open). You can close the top of your grill, but it will make the heat much hotter, so you may want to shorten the cooking time. I didn't want my chicken to dry out, and a little lower heat was just right for these kabobs! When it's cooked through, the meat will be slightly firm, but not dry.

Make these tonight!! So tender, juicy and delicious!

Pair them with just about anything... rice pilaf, mashed potatoes, grilled bread, tortillas... anything! So kabobbing good!
 Holy Humidity Batman!!! It's HOT!! Dang! So tonight calls for something satisfying, something healthy and nutritious, and above all, tasty! Cue... POWER SALADS!!! Anyone out there have a friend or two who need a little neighborly meal... full of love, comfort, and support? Well, I have a TON of friends like this, and tonight I'm making this super nutritious power salad for one of them! A dear friend who does more for everyone around her than anyone I know! So here's to you... my friend!
 Tonight I started with simple mixed greens and romaine lettuce, washed and chopped, about 4 cups will feed about 4 people. Next, I added one cup shredded carrots, one cup edemame (bumping up the protein), cooked and cooled, and 2 pickling cukes washed and sliced into half moons. Now this salad, just like this, would be delicious with the chilli that's going along with it, but I added a little more...
 These hard boiled perfectly cooked eggs. Notice any gray, discolored circles around these hard cooked cuties!? HECK NO!! Perfectly rich cooked yellow centers surrounded by some body building protein! Here's how I get them perfect like this, every time!
 Place eggs in the pot and cover with cold water... yup, COLD water! Next, put the pan on high heat. When the water comes to a boil (rolling bubbly boiling water) set a timer for 10 minutes. Let the eggs boil in that water for 10 minutes and as soon as the timer goes off, take the eggs out and put them in some cold water to stop the cooking. Perfect!! Every time!!
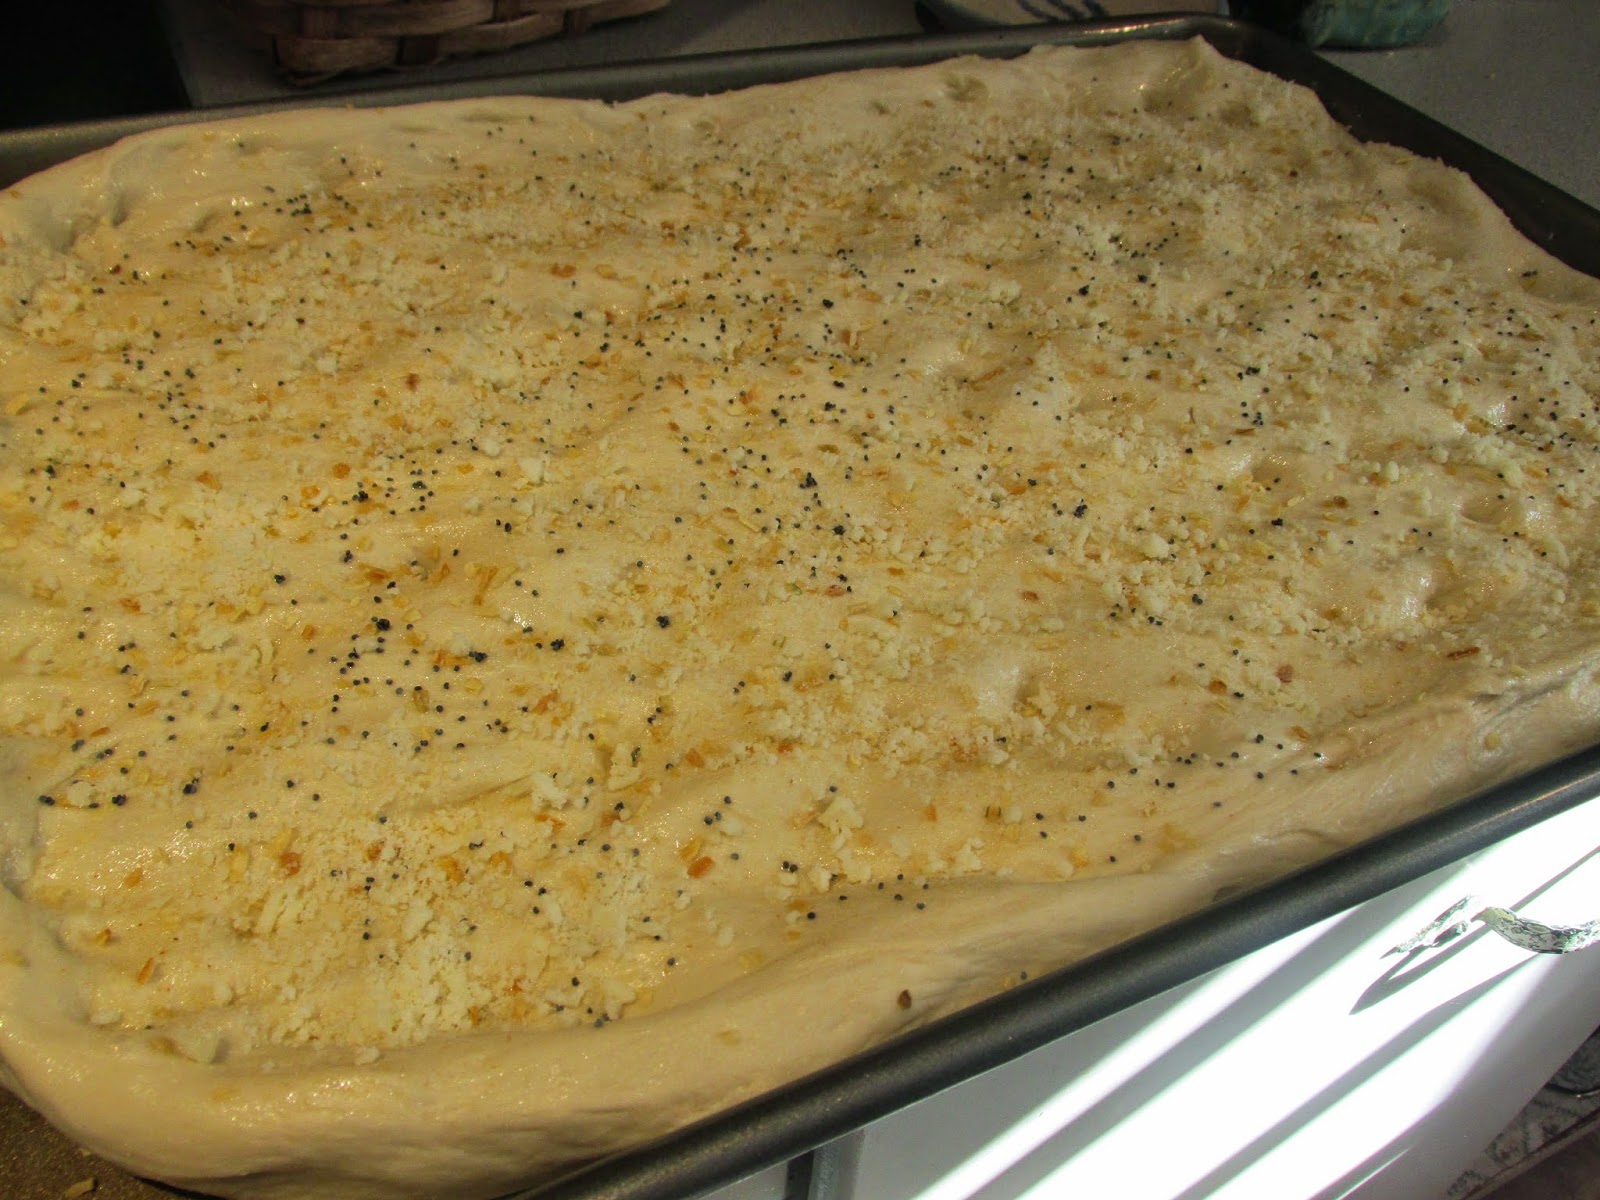
 To go with this super yummy salad, I have a little homemade focaccia! Simple bread, flavored up with some olive oil and fresh herbs and spices! I've made this focaccia a bunch of times.
 Just thaw out some store bought bread dough, cover with olive oil and sprinkle on some flavor. In this case we used onion flakes, poppy seeds, sesame seeds, garlic powder, and a little kosher salt! SO GOOD!
 Cooking for a friend... always good for the soul, good for your friends, and good for you (or in this case, ME)! Bank yourself some Karma... and cook for someone soon!! Even when it's not cooking, like with this salad, there's something special about the love that goes into a meal for a friend that makes your world a better place!