So, tonight,on this beautiful, perfect summer night, after a long day of jammin' with ma' bandmates, and summer football practice, we are having some warm creamy delicious clam chowder! So...I've been jones-in' for some good ol' New England Clam Chowder for a while now, so tonight... it's Chowdah' Friday!!

So, for delicious clam chowder, we start by prepping our veggies... peel and chop 6 carrots, 6 stalks of celery, chop 2 onions and wash and dice 6 potatoes (I used yukon gold).

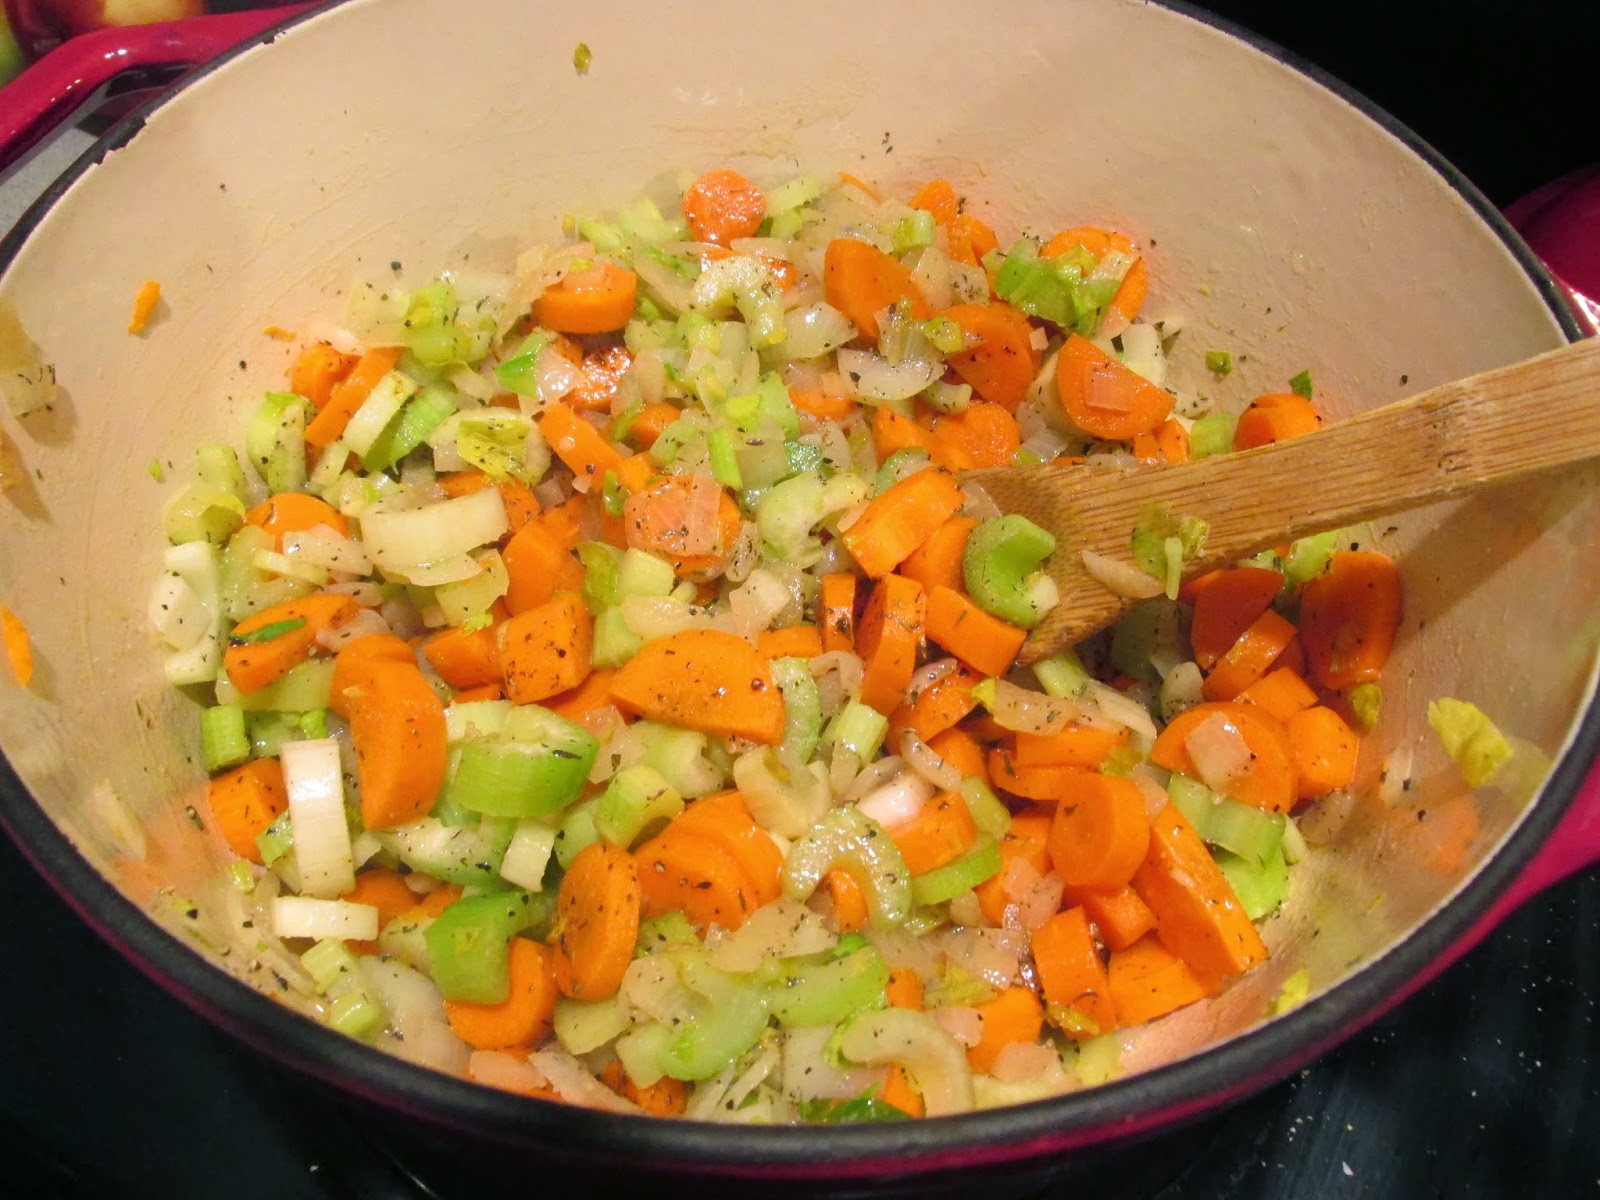
Now, I'm not usually a "butter" girl... so much fat, no nutrition... but tonight, I was like Paula Deene at a butter convention! YIKES! I added half a stick of butter (4 tablespoons) to a pan and added the chopped veggies (onion, carrots and celery) and sauteed for about 10 minutes.

After the veggies saute, add the chopped potatoes, salt and pepper, and half a teaspoon of thyme and mix together on medium heat. Let the potatoes cook for about 10 minutes with the veggies.

Next, I added the clam juice from 4 cans of clams (but not the clams.... yet). There wasn't enough liquid to cover the veggies, so I added about 2 cups of chicken stock to the liquid so it would cover the veggies. Let that simmer on low heat for about 20 minutes until the potatoes and veggies are tender!

Now to thicken up this chowder, I added ANOTHER HALF STICK OF BUTTER and 1/4 cup of flour to a small pan to cook for a bit. I'm officially disgusted with myself (my bad butter-self), but my longing for tasty chowder is clearly prevailing.... cook the butter and flour for about 2 minutes. Then...

After the flour and butter gets bubbly... add about a cup of the liquid (stock) from the soup TO the flour mixture and whisk together.... then, add the flour mixture to the soup! You've basically made a roux with flour and butter, and it will make your chowder thick and rich and super delicious! (Thank you butter)

Next I added the 4 cans of clams and mixed in with the chowder!

And this is what I got! NOW THAT IS MONEY CHOWDER! I could stop there... but my alter ego, butter loving chowder loving sista went OVER THE TOP!!! That's right... after all that butter, I added...

One cup of light cream. That's right, cream... and I'm not apologizing!

Now, the way I look at it, I have a lot of butter and cream in that soup, but I also have a lot of veggies and clams in that pot too! Not to mention liquid (stock)... so... I'm eating clam chowder tonight, and I'm OK WITH THAT!!! If you make this chowder, you will understand!! And you might thank me, the clams, the butter, and the cream... just sayin'!

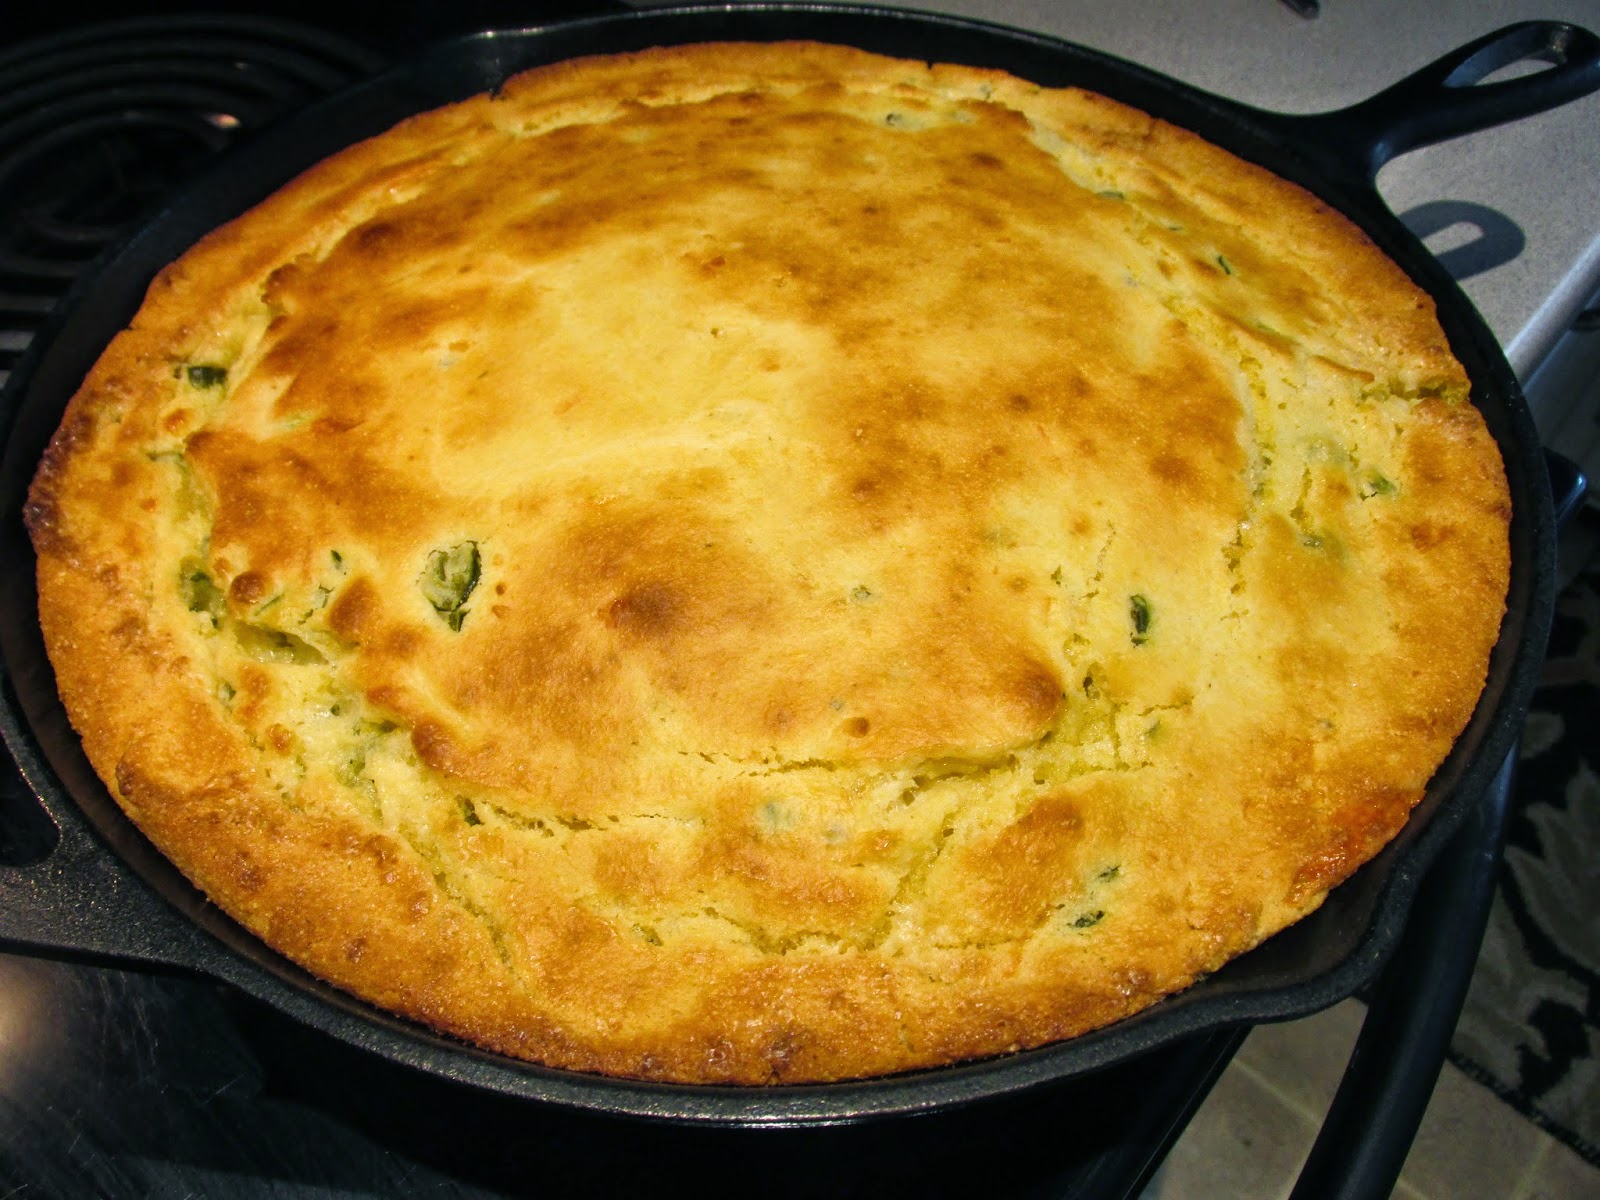
Now, how to garnish this delicious creamy piping hot chowder? Fresh baked bread????

Or the ever popular chowder crackers... so crispy, salty, crunchy... and killer good... hmmm...

And the winner is.... crackers! YES!!! Have some warm creamy chowder and crispy crunchy crackers too! That's Stevie's way! Happy chowder eaters.... in da' house!!
 So, as usual, I am super excited to have not only my 3 boys home for dinner.... I have one of my favorite extra boys!!! Wooohooo! Boys in da' HOUSE! Happy Mom and happy eaters... and my dinner is super simple and ridiculously delicious!! Grilled chicken BLT's on homemade bread (focaccia) and simple fresh picked (6 hours ago) Hadley corn!! Nothing better! Here we go...
 First, the transport vessel for our summer sandwich of awesomeness... focaccia... simple flat bread!
 First, I took my favorite store bought bread dough and let it thaw and spread it over a sheet pan. You can make your flat bread as big or as little as you like. Tonight, we made our enormous!!
Then, I drizzled some olive oil over the top and spread that dough with my fingers... putting dimples in the dough as I spread it! Last, I sprinkled some tasty flavor on that bread, poppy seeds, granulated onion, garlic powder and some sesame seeds... but you don't have to. It will be great either way!
First, I took my favorite store bought bread dough and let it thaw and spread it over a sheet pan. You can make your flat bread as big or as little as you like. Tonight, we made our enormous!!
Then, I drizzled some olive oil over the top and spread that dough with my fingers... putting dimples in the dough as I spread it! Last, I sprinkled some tasty flavor on that bread, poppy seeds, granulated onion, garlic powder and some sesame seeds... but you don't have to. It will be great either way!
 I cooked the bread in a 350 degree oven for about 35 minutes, or until golden and cooked through!
 BOOM! Awesome bread ready for some sandwich deliciousness!!
 Then, time for simple grilled boneless chicken breasts, super lean, packed with protein, and ready to please this house full of athletic marathon eaters!!
 All I did was butterfly the breasts in half (the long flat way... making 2 thinner pieces) with a sharp knife. I sprinkled my chicken with some salt and pepper and garlic powder and a little thyme. Then, grilled on medium high heat for about 3-4 minutes per side (depending on thickness), then pulled off the grill to rest.
When done, the chicken will lose it's pink color, and seem opaque, firm, but NOT HARD... hard chicken is dry (shoe-leather) chicken... don't overcook the chicken!!
All I did was butterfly the breasts in half (the long flat way... making 2 thinner pieces) with a sharp knife. I sprinkled my chicken with some salt and pepper and garlic powder and a little thyme. Then, grilled on medium high heat for about 3-4 minutes per side (depending on thickness), then pulled off the grill to rest.
When done, the chicken will lose it's pink color, and seem opaque, firm, but NOT HARD... hard chicken is dry (shoe-leather) chicken... don't overcook the chicken!!
 And finally!!! The bacon! I cooked my thick cut bacon in a 375 degree oven for about 35-40 minutes until crisp and yummy! BLT's require super tasty salty, crispy bacon, and that's just what we got!
 So... to assemble the sandwich... split the focaccia and toast it for a minute or two, just to get crisp! Spread with your favorite mayo, slice up that grilled chicken and spread it all over! Top with your favorite lettuce (our was super fresh local red leaf lettuce picked about 10 hours ago... thank you western Mass), sliced tomato, and a few slices (or as many as you like), of that crispy salty bacon!!
 And here you have it... the simplest icon of a summer sandwich... made with love and grilled chicken goodness! BLT's done RIGHT!
 And a bunch of boys to share it with.... VERY happy Gremlinmom !!!