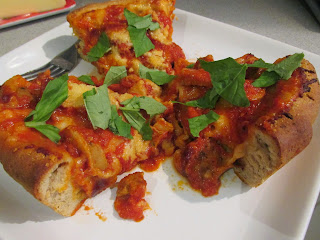
We love pizza around here... and we love to do it ourselves! So, tonight I thought we'd try a deep dish pizza, full of meat and cheese... now how bad can that be?? So, let's start with the dough...

Home made dough is easier than you think! This deep dish pizza dough is a little different in that it has a little more "fat" (olive and canola oil) in it than a regular dough, and we'll pre-bake the shell a little, before adding the filling... and it will be worth it!!

The dough starts with 1 cup and 2 tablespoons of warm water (not too hot, or it will kill the yeast, just warm enough to wake it up). Add 2 and 3/4 teaspoons (nearly 3) of yeast to the warm water and a little shpritze of something sweet, so the yeast can wake up, and snack on the sweetness... tonight I used agave, but you can use a teaspoon of sugar, honey, or whatever you like. Not too much, or the yeast will "over-eat" and get lazy, instead of energized and ready to work that dough. At first it will look like this....
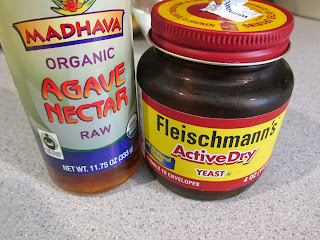
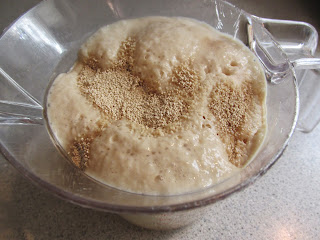
and after about 10 minutes, it will be bubbly and ready... like this!
Now, I'm lazy, so I fit my food processor with the dough blade (the blunt plastic one, not the sharp ones) and let the machine do the work. Into the processor, I added 2 cups of all purpose flour, and 2 cups of wheat flour...

Creating the illusion of something "healthy", you know, better for you... before I load it up with meat and cheese...so, yah, "healthy"... just go with it for now.
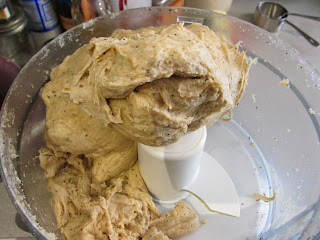
To the flour, I added kosher salt: 1 and 3/4 teaspoon, and 1 tablespoon of Italian seasoning. I gave all these dry ingredients a little whiz, then I got ready to add the wet. Before adding the water and yeast, I added3 tablespoons of olive oil, and 3 tablespoons of canola oil. Then, I started the processor, and added the wet, while the machine did all the work. It will turn into a ball, if not (and mine didn't right away), it may be too dry, so add a tablespoon of warm water until you get a big ball (I added about 2 tablespoons tonight). Let the dough bang around in the processor for a few minutes, kinda like kneading.

Last, I turned the dough out onto a floured surface and just worked it into a ball with the heel of my hands for a minute or two (remember, I'm lazy, and it will be just fine)!
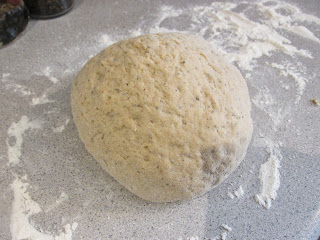
Let the dough rest in a warm dry spot.
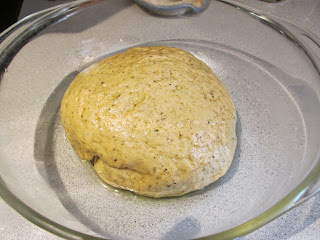
I rubbed my dough with a little olive oil, and covered with a towel to rise. This will take about an hour, just enough time to drop the boy off at football practice! Off I go, and when I get back, we'll build a pizza pie!!

So, it's been about an hour, and this is what we got. You want the dough to double... WOW! Well done, yeast!!
Time to form the pie! Divide the dough in 2 equal pieces.
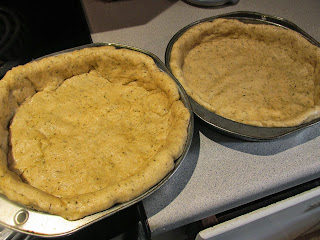
Work the dough into 2 circles with your hands (it's a very tender dough) and lay it into a greased 8 inch cake pan (I lined mine with parchment paper too... because my pans are super old and crappy...
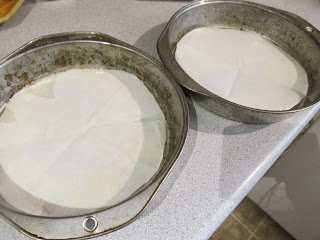
Yours are probably fine.
Tuck the dough into the pan, and work up the sides, and prebake the dough in a 425 degree oven for about 10 minutes. Take the dough out and get ready to fill with meat, cheese, and sauce!
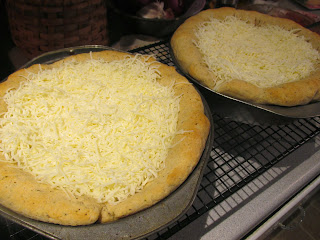
So here's the pre-baked pizza dough.... First, fill the pie shell with mozzarella cheese (about 1 cup, grated)...
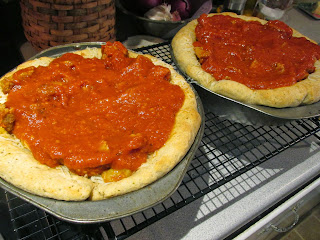
Next, top with the meat and sauce, we used leftover meatballs and sausage from last night...
Last, top with grated parmesean cheese, about a half cup per pie. If you don't have leftovers, about 1 pound of meat (sausage, meatballs)... and 1 28 oz. can tomatoes (with some garlic salt, and crushed red pepper).
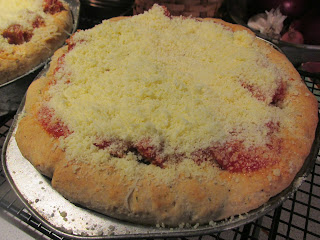
Now, bake in that same 425 degree oven for at least 25 minutes, or until cooked through, golden and deliciously cheesey!

Let your deep dish pizza rest for about 10 minutes (if you can stand it).
This recipe yielded 2 beautiful, meaty, cheesy deep dish pizza pies! We cut each one in 6 slices, and 2 is enough for any normal person, though... we ate way more!
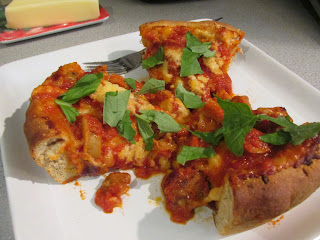
Enjoy your delicious deep dish with a little torn fresh basil, and a house full of friends, family, or awesome boys!! Fresh is best, and this couldn't be easier!!!
 So, while my friend had this super, awesome, televised backyard BBQ (and it was freakin' awesome)....
 complete with blonde super-cute channel 40 anchor Lady, adorable pool boys, 4 wheelers tooling around, and awesome food... I had this...
 Chicken.... but not ordinary chicken.... chicken I converted into much more INTERESTING CHICKEN KABOBS! And they were awesome!
 First, I marinated my chicken tenders in a little bbq sauce and sesame dressing (easy, lazy, convenient.... and tasty)!
 Then, after marinating my tenders for at least 1 hour, or up to 4 or 5... I picked some tasty players to join my chicken... on their kabob journey....a red pepper, onion, and 2 medium size zuchini... sliced and tossed with a little salt, pepper, and olive oil.
 Zucchini, red pepper and onion! Perfect! Thread all these players onto a skewer... but not any old skewer...
 Soak your wooden skewers in water for at least 30 minutes (more is better), so they don't burn up your kabobs!
 I cooked my kabobs on a medium heat on the grill for about 2-3 minutes per side. Chicken tenders cook fast, and overcooking will suck the life out of them. If you push or touch them with your finger, they should feel firm, not soft, but definitely NOT hard....
 And here you have a CLASSIC!!!
 Supper in the summer, with fresh corn and grilled kabobs! And another night with the boys.... nothing better!!!


